
Install CUDA 11.6
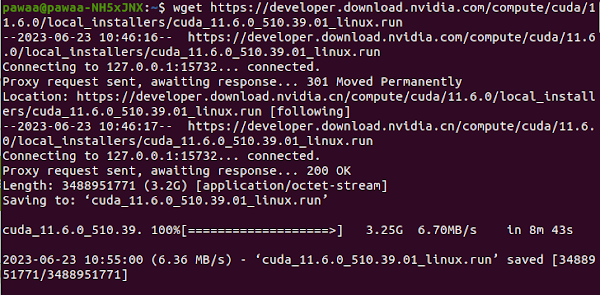
Download CUDA
Click this link and find the version you want. Here I chose CUDA Toolkit 11.6.0.

Installation
Follow the installation instuction, run commands in Terminal.
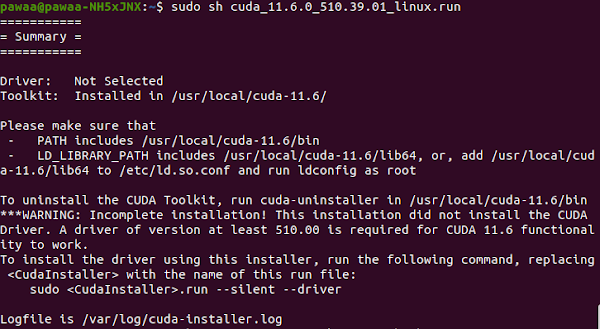
As running the second command, just confirm ‘Continue’.
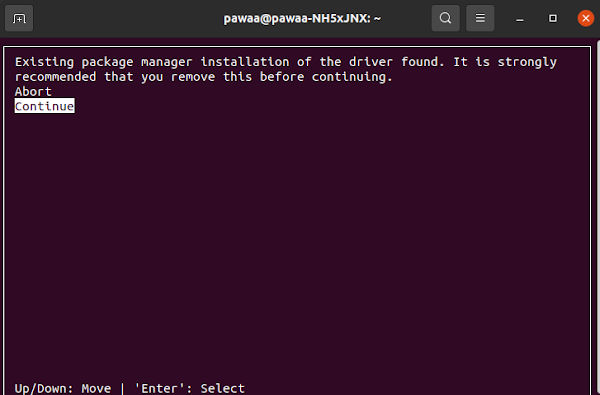
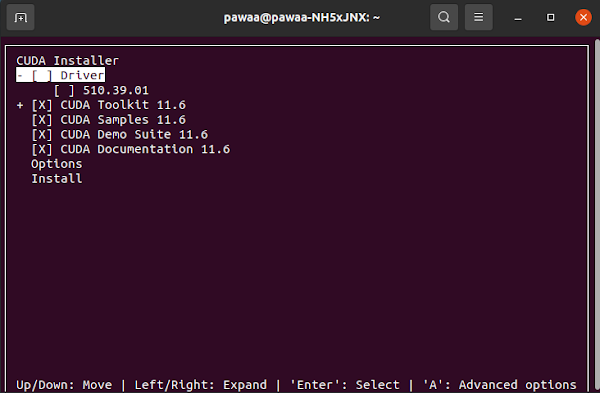
Due to the warning above, we cancel the driver option, and install. Before that, I’ve tried to uninstall driver and re-install it cause I thought it was the version confliction of driver cause the warning. Thus CUDA was already installed, which is why this show up:
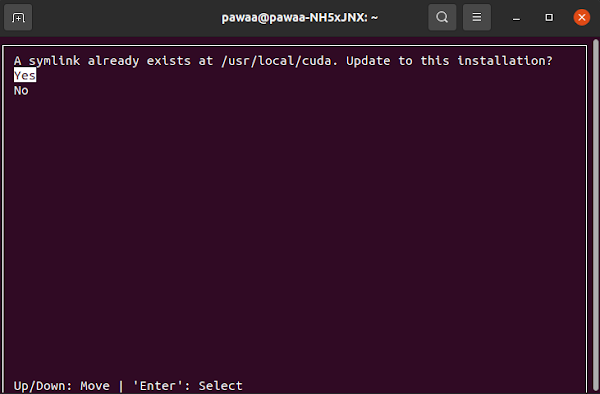
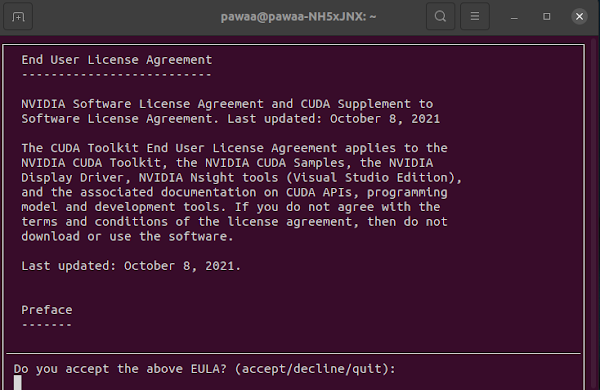
Confirm ‘yes’ and CUDA is installed!
Set path
The final step is set path according to the Summary in the last pic.
echo '# CUDA Soft Link' >> ~/.bashrc
echo 'export PATH=/usr/local/cuda-11.6/bin${PATH:+:${PATH}}' >> ~/.bashrc
echo 'export LD_LIBRARY_PATH=/usr/local/cuda-11.6/lib64${LD_LIBRARY_PATH:+:${LD_LIBRARY_PATH}}' >> ~/.bashrc
source ~/.bashrc
Check if CUDA is successfully installed
Run ’nvcc -V’.
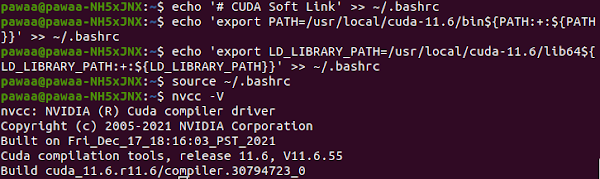
That means a YES.
Install cuDNN8.4
Download Cudnn
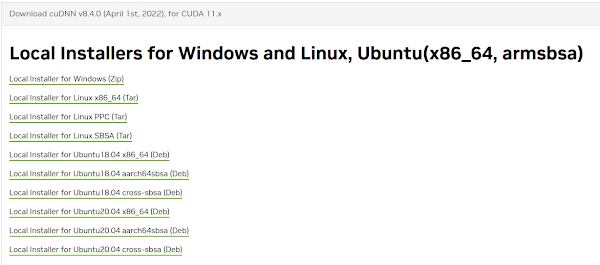
Click here and find the version you want. (Needs to sign up) Here I chose cuDNN v8.4.0.
Installation
1.Tar File Installation
Decompress tar file, run the commands below to copy files into the folder where CUDA11.6 at.
sudo cp cuda/include/cudnn*.h /usr/local/cuda-11.6/include
sudo cp cuda/lib64/libcudnn* /usr/local/cuda-11.6/lib64
sudo chmod a+r /usr/local/cuda-11.6/include/cudnn.h /usr/local/cuda-11.6/lib64/libcudnn*
2.Debian Local Installation
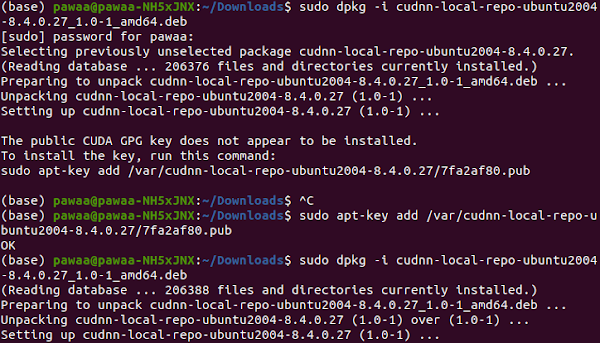
I downloaded .deb file. Navigate to your downloads directory containing the cuDNN Debian local installer file. Replace X.Y and 8.x.x.x with your specific CUDA and cuDNN versions before issuing the following commands.
# Enable the local repository.
sudo dpkg -i cudnn-local-repo-${distro}-8.x.x.x_1.0-1_amd64.deb
# Import the CUDA GPG key.
sudo cp /var/cudnn-local-repo-*/cudnn-local-*-keyring.gpg /usr/share/keyrings/
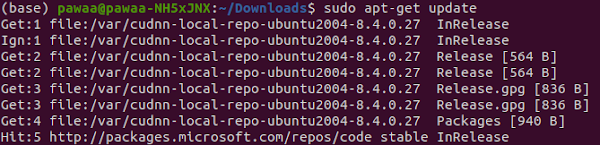
# Refresh the repository metadata.
sudo apt-get update
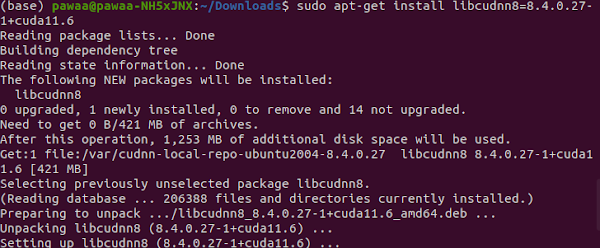
# Install the runtime library+developer library+code samples.
sudo apt-get install libcudnn8=8.x.x.x-1+cudaX.Y
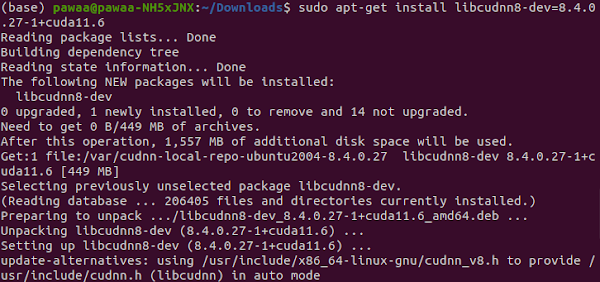
sudo apt-get install libcudnn8-dev=8.x.x.x-1+cudaX.Y
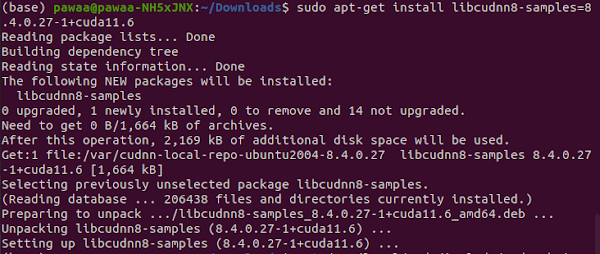
sudo apt-get install libcudnn8-samples=8.x.x.x-1+cudaX.Y
Feels like this way used so many disk space. Don’t know why.
Verifying the Install
To verify that cuDNN is installed and is running properly, compile the mnistCUDNN sample located in the /usr/src/cudnnsamplesv8 directory in the Debian file.
cp -r /usr/src/cudnn_samples_v8/ $HOME
cd $HOME/cudnn_samples_v8/mnistCUDNN
# Compile the mnistCUDNN sample.
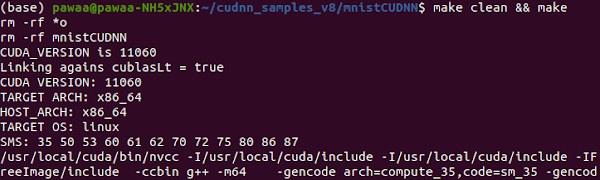
make clean && make
# Run the mnistCUDNN sample.
./mnistCUDNN
Here maybe needs reboot. While compiling sample, there was a fatal error:
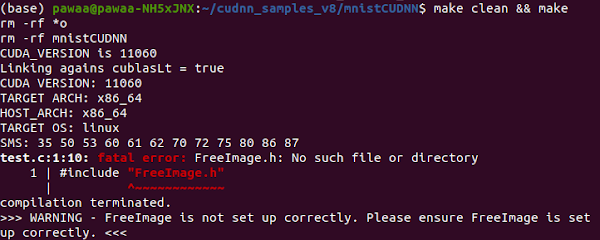
Solution:
sudo apt-get install libfreeimage3 libfreeimage-dev
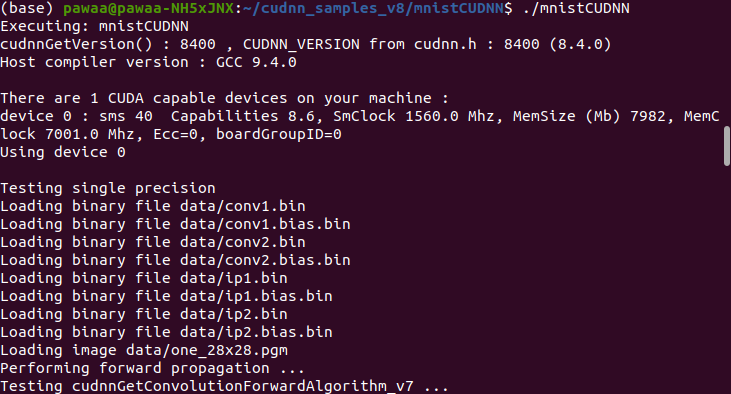
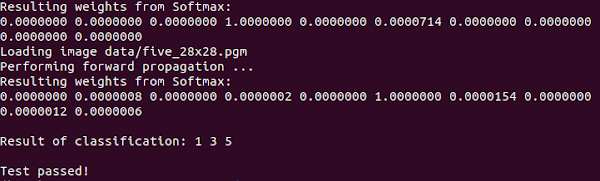
When you see ‘Test passed!’, cuDNN is properly installed and running on your Linux system.
Install Anaconda
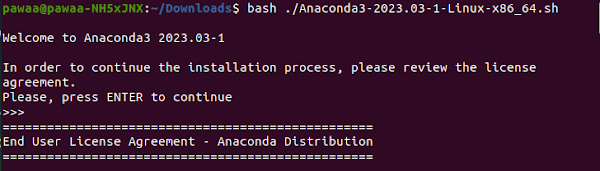
Here to download Anaconda. Then bash the .sh file you just downloaded.Following the instruction it gives you.
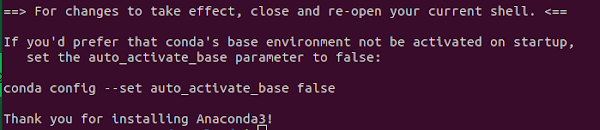
AND I set this to false. All done. It’s quiet easy.
References:
https://docs.nvidia.com/deeplearning/cudnn/install-guide/index.html#install-linux
https://cyfeng.science/2020/05/02/ubuntu-install-nvidia-driver-cuda-cudnn-suits/